Showing posts with label Home school. Show all posts

Thursday, March 3, 2016

Teaching Together, Resurrection Eggs {March 2016}

Welcome back to Teaching Together!

This month marks our 6th link-up of sharing and learning together. It may or may not surprise you but these posts are always a HUGE challenge for me. I think it's because I am so immersed in home school and education all day long that my brain is generally fried in this category. Coming up with posts that others can (and want) to relate too is always so tricky for me.

This month I chose to share a project that I have been wanting to do for several Easters now.
It is easy, inexpensive and I didn't even have to leave my own home yard to gather the supplies #winner!


With Easter coming soon, now is the time to start preparing hearts both young and old to celebrate Christ's glorious defeat over death. 

These resurrection eggs take about 15-20 minutes to assemble and are started 11 days before Easter meaning you open your last (12th) egg on Easter morning. This year the day to start would be March 16th! So you have just under 2 weeks to get everything ready.


Here is what you need
Day 1: Blades of grass. 
(I took 3 and wrapped them together.)
Day 2: 3 Dimes
Day 3: Piece of bread or cracker
Day 4: Small piece of paper rolled into a scroll
Day 5: Piece of rope or yarn for whip
Day 6: Thorn
(I used a brown pipe cleaner to make a crown.)
Day 7: 2 Nails
Day 8: Dice
Day 9: Spear
(I cut a skewer down to size)
Day 10: Piece of thin white cloth
Day 11: Rock
Day 12: Is left empty


I used a Sharpie to number my eggs.


Writing on eggs with a Sharpie... not as easy as I hoped.


I placed my items in the correct eggs, put the lids on and we are now ready for March 16th!


You might even say they are egg-cited!

So sorry. I just had to do it.
Something in me just can resist a pun.

Free Printables

Now for the printables so you can make your own set. 
First off the egg carton cover that you can print, cut to shape and glue on.

Print Cover HERE


Next are the verses to print off and glue as a reference inside the lid of the box.

I only did the references and not the entire verses and I would like to tell you why?

#1 I think it is SO important for kids to see us going to the Bible. Not reading it from our phone or a piece of paper, but opening up Gods word, finding it together and reading it there. I don't always go this route but the extra bit of time is so well worth it.
#2 As kids get older it is great practice to have them look up the verses, which is what I plan to do.

Print Bible references HERE

I am so excited to open these eggs every morning with my girls. 

My hope and prayer is that this would be a tool to share the reason we celebrate Easter with your little ones.


Now it's your turn to link up what you've been learning about lately.
Grab the button from my sidebar and join the fun!

By submitting a link, you are giving me authorization to feature your post.  If your post is featured, we will include a picture and a link to your site to share the love!


post signature


Thursday, February 4, 2016

Teaching Together, Plant Fun {February 2016}

Welcome to Teaching Together #5!

As a home school mom of two, this year has been full of challenges. Like the fact that I am still trying to get the hang of teaching two kids on two very different levels simultaneously. I have been trying to do better and I know it will be even more important when Emily starts Kindergarten in the fall. This months post is an example of what learning together currently looks like in our home. Marissa is working through the plant section of her science book and today I am going to share a few activities I've added to make things pre-k friendly for Emily.


Identify the parts of a plant

What better way to learn the parts of a plant than with a craft?!

You need:
blue & green construction paper
cupcake wrapper
seeds
pipe cleaners
scissors
glue


I'd explain how to put it together, but I think it explains itself pretty well. 
You can also label the parts if you wish.
Roots, stem, leaves, flower & seeds. 

Read some books on plants

Books are always a great way to reinforce what you are learning about. 
We like these:


Observe different kinds of seeds


I have quite the seed collection so we looked through my packages checking out the different sizes, shapes an colors of the seeds.

If you don't have seeds on hand you could always check out a seed display.
Most stores have all kinds of seeds out this time of the year. 

Plant some seeds


We are working on sprouting bean seeds.
It is easy to see by the look on her face that the idea of beans does not impress her. 

To easily do this moisten a paper towel, lay the beans on it, fold the paper towel over the beans, put it in a sandwich bag and leave in a sunny window. You need to keep the paper towel damp. After a few days they will sprout and you can observe the different parts of the growing plant.


We also planted a bean in the dirt and a few carrots too.


Waiting on her plants to grow.

Learn with music

Emily is quite the song bird so any time we can incorporate some music into our learning we do.
This one is pretty catchy and cute which typically also translates to "gets old fast" in mom talk. But she loves it.


Our lessons on plants came just in time. We are about a week away from starting our seedlings for our 2016 summer garden. With a little luck and some more training, learning and practice I might just have a couple of green thumbed girls on my hands. So even if Emily never learns to eat her veggies, at least she will be able to grow them :).


Now it's your turn to link up what you've been learning about lately.
Grab the button from my sidebar and join the fun!

By submitting a link, you are giving me authorization to feature your post.  If your post is featured, we will include a picture and a link to your site to share the love!


Thursday, January 7, 2016

Teaching Together: Learning To Read {January 2015}

Welcome to the January edition of Teaching together!
 
January is month #4 of Teaching Together. How has it been that long?!
We would love to invite you to join us the first Thursday of the month in 2016!


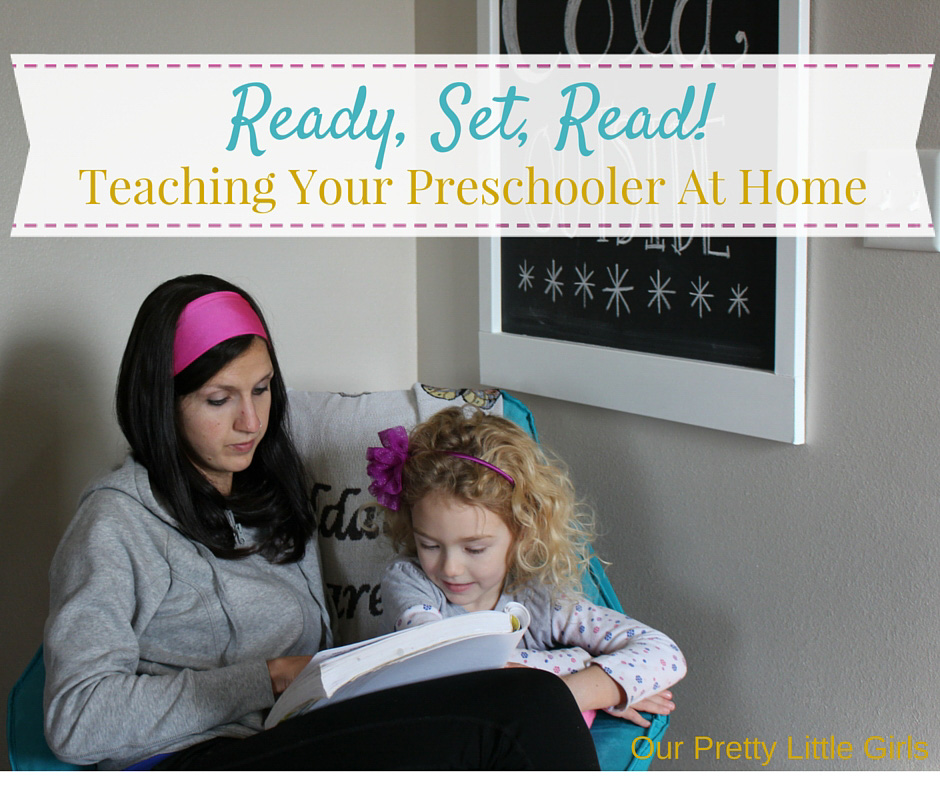
This month you are going to get a big fat dose of what is on my mind lately, and that is teaching little Miss Emily to read. I didn't officially start teaching Marissa to read until she started Kindergarten, but I don't think her sister is willing to wait that long.

Today I want to talk about skills needed before a child begins to read, signs that they are ready and few ideas to get you started!


First of all I would like to add that before Marissa I had never taught or even watched a child learn to read. To say I was terrified doesn't even come close to summing it all up. Add in the fact that we were homeschooling so I was "doing this by myself" and I'm surprised I ever worked up the nerve to start.

Reading is an amazing foundation for a life time of learning.
I wanted a good foundation for our girls and I wanted it to start as soon as they were ready.

How do you know a child is ready to read?
 
#1 They know and can identify all of their alphabet letters.
#2 They know and can match all of the letters to the sounds they make. 

Once you have those two key pieces of the puzzle, you are ready to start putting things together.


Emily has known all of her letters and their sounds for a year now. For the sake of being honest I'll admit that I've just been lazy or distracted. I thought I would put off teaching her to read until about the same time her sister did, until she started teaching herself. 

As a second child who has been "home schooled" since she was 2, she is a sharp and fast learner. I would put worksheets at her desk for her to do and she would start sounding out the words. She would make letter sounds and write the letters down on paper spelling out words, correctly! I finally accepted the fact that not teaching her was doing her an injustice and we dove head first into learning. 

Where to start?
 
One of my favorite ways to start is to teach the child to blend two letter sounds using short vowel sounds only. I find the best (and cheapest) way to do that is to make your own flash cards.

Think BA, HA, ON, AT, CA, PI, GU and any other combo you can create.


I also picked up this book to work through with Emily. I didn't use this with her sister so I am excited to see how I end up liking it, or not. I'll try and update this once I develop a stronger opinion.


More ideas
We all know repetitive flash cards can be a bit boring, so here are a few ideas to mix things up a bit. 

*Rewards
Offer a reward if they can get (x) amount of flash cards right.

*Story Time
Find books that you can read together. Short books that have lots of words they can read in them. We have this set of abeka pre-k readers and they are the first books both of my girls have read.

 
*Workbooks
 When the pieces are starting to come together phonics work books can be really helpful. We have been huge fans of Explode The Code Phonics. I have heard nothing but rave reviews about their curriculum and the amazing readers Explode The Code creates. I feel like the fact that I have a 7 year old reading 120+ words a minute and years beyond her reading level is a pretty huge testimony to their program as well.

*Play games
There are so many amazing phonics games out there that keep a childs attention and provide a fun way to learn. One of our favorites has been ABC cookies. This game is SO versatile and can be played for YEARS. From a toddler learning their letters to a young reader. Marissa even still enjoys playing this game with her sister.


*Encouragement
Don't forget to encourage them along the way. A little encouragement goes a LONG way at this age.

Always remember what's easy for one child may not be easy for others and all kids learn at different levels and speeds. If your child is struggling to learn don't take it as a failure on their part or your own. Be creative and try several different approaches and techniques to find what works best for them. Never be afraid to seek out any help you may need. Those precious babies are always worth it.

Happy learning to read!

Do you have any tips to add?
Are or were you terrified to teach your child to read?

Grab our button in my sidebar and link up what you've been learning lately!

post signature


Thursday, December 3, 2015

Teaching Together Blog Hop {December 2015}

Welcome To Teaching Together #3!


Before we get started I wanted to share a couple my favorite post from our November hop!
It was so exciting to see last months link-up grow. There were lots of great posts to get ideas from, so picking two was really hard. 

Meghan shared some really fun, simple ways you can learn about shapes.


And Desiree shared about how she improvised preschool lessons about the letter F.


Great examples showing that life is full of teachable moments.
Thanks for linking up with us ladies!

Now on to this month...
In the spirit of being completely honest, I almost forgot about this link-up #cohostfail. Oh my goodness, admitting that is just a tad embarrassing. Instead of stressing out to pull something together, I thought I would take a different direction and do a round up.

Here we go!

Christmas is BY FAR my favorite time of the year and there are SO many projects that I want to do with the girls. Today I am sharing with you a few activities that we are looking forward to working on over the next few weeks. 

Jesus Tree Daily Advent Devotional

I have been looking and looking for a family advent devotional and I think this might just be the one.
Christmas Countdown
 
The girls LOVE having a way to count down to Christmas.
 
 
Roll-A-Reindeer
 
We always enjoy a fun Christmas themed game night with the kids. This will definitely be on our list this year.

 
Santa Letters
 
I love the focus of this letter.
One thing they REALLY want, some other ideas and ways for them to think how they can give. Perfect!


Cinnamon Ornaments
 
The girls and I have never made these, it's finally going to happen!


Nativity Craft
 
This would make a great ornament or sun catcher.


Recycled Gingerbread Houses
 
I love the creativity and practicality of this project.
It could also be adapted for each child.


So many great activities to do in the month of December.
This small collection just barely scratches the surface of what I would like to get done. 

Overly ambitious? You bet I am.

Now it's your turn!
Grab the button in my sidebar and link up what you've been teaching lately.


What Christmas craft are you looking forward to?


post signature


Tuesday, November 24, 2015

Bringing Art to Life with IDO3D!

Marissa and I had so much fun creating with IDO3D, who hired me to try out their product and share it with you, my readers. All opinions are my own.

Art should be fun, exciting and interactive.

As a home school mom I am always on the look out for great products that that allow us to create in new and exciting ways. I was so excited to learn about IDO3D. It is the perfect combination of art, science, engineering and creativity. A chance for kids to make their very own unique 3D creations. 

I love when we can learn so much from one simple project. 


From the moment the box arrived, Marissa could not wait to get started.


She grabbed the guidebook and started flipping through the projects. It was full of a large variety of project ideas in a variety of skill levels. The perfect guide and inspiration to get you started. She quickly found a pair of glasses and was ready create.


Step one was to trace the pattern with the pen onto the plastic sheet.
The adjustable precise tip made this easy and fast.


With the tracing completed we moved onto the next step, using the special light to transform her art.


After a few minutes of using the light our glasses were cured enough to assemble. We used the special pens and the light to "weld" the glasses together.

After a bit more curing in the sun our project was complete and ready to wear.
She was so proud of her creation.


And just like that, she was hooked.
She wasted no time getting started on another creation.


IDO3D was the perfect new twist that made her art real and brought it to life.

You can check out IDO3D on Facebook, buy this kit on Amazon or check out the IDO3D Amazon Store where you will find this and many other amazing project kits. 

IDO3D, is a great addition to any kids Christmas list!

What have you been creating lately?

post signature