Showing posts with label Fine art for kids. Show all posts

Monday, November 10, 2014

Little Artist: Van Gogh

I am so happy to be back again with another addition to our "Little Artist Series". I hope that you guys have been enjoying these posts as much as we have and that you have had a chance to try one out for yourself.

Here is a recap of the artists that we have already covered. 


This weeks project might just be my new favorite. It was easy, fast and we had a lot of fun working on this one.


Check out this quick article about Mr. Van Gogh. There were so many details about his life that I didn't know before reading it with the girls. I absolutely love when we learn together. It is easily one of my favorite parts about homeschooling

Our project this week was to do an interpretation of one of Van Gogh's most famous pieces "The Starry Night". This project requires just a few basic supplies and about 15 minutes.

Supplies needed:
White paper
Crayons
Watercolors


The first step was to draw the picture on the paper using crayons. We drew the moon, stars, tower and then with the white crayon we added swirls and lines to our picture. (I obviously helped Emily out with hers,)


Next we used water colors and painted over the picture with blue paint. The girls were amazed at the lines and swirls appearing giving the paint the feeling of movement. 


Such a easy project, but so much fun. I couldn't be happier about how they turned out!


I think Van Gogh would be proud to.


post signature


Thursday, October 16, 2014

Little Artist: Claude Monet

We are back with another "Fine art" for kids, art project. This is our 4th artist/project. You can check out our previous projects if you would like.

Mondrian  ~  Matisse   ~  Seurat


My favorite part about all of these projects has been the broad range of skill levels that they work with. Most of these projects work great if a kid is 2, or if they are 12

This week we worked on one of my all time favorite artists.


If you would like to study Mr. Monet you can check out this biography on him by Making Art Fun.

Or you can see if your library has a copy of The Magical Garden of Claude Monet

Supplies Needed:
White paper
Good quality painters tape
Acrylic paint
Paint Brush


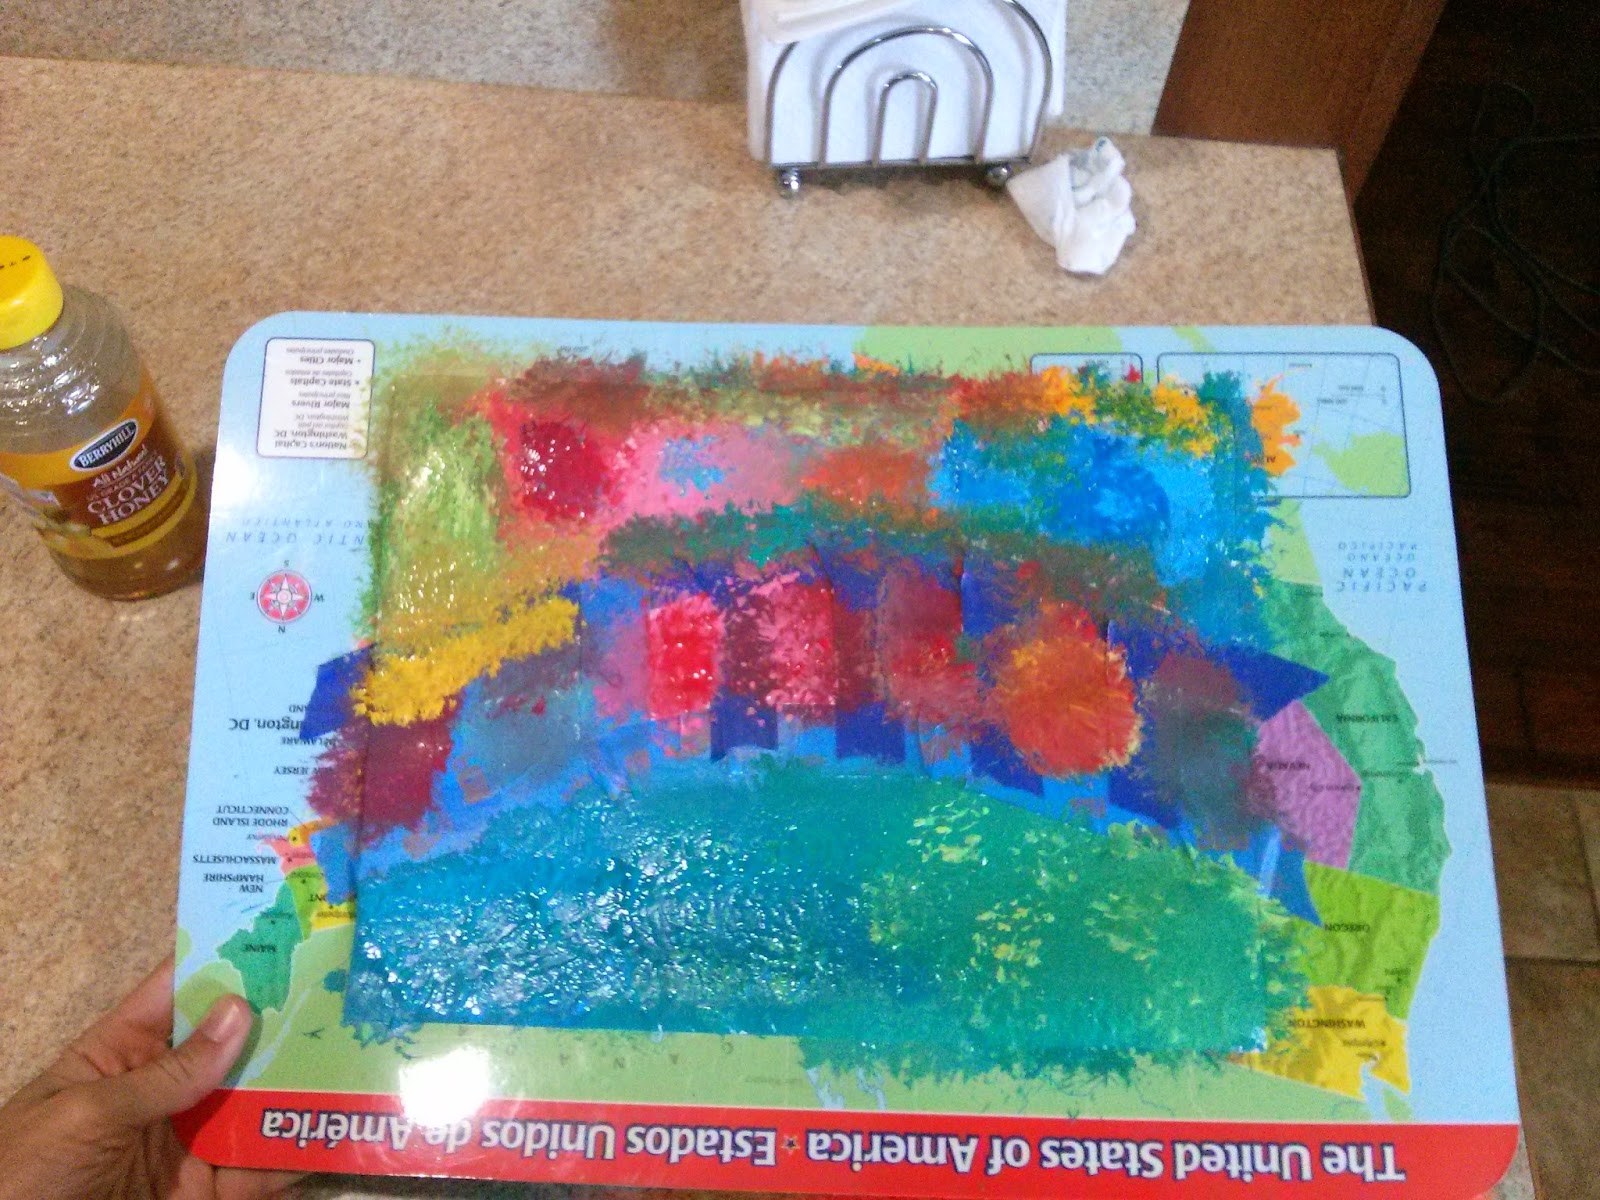
First I took the tape and marked of a bridge. I would highly recommend using a thinner, good quality painters tape. I used some of the cheaper kind and it wanted to peel off the paper when I took it off. 


With the tape in place I let her go crazy painting, blending and layering the colors. 

*Note I used a place mat underneath to save me from scrubbing the counter top. 


After she was finished we allowed the piece to dry for about 15-20 minutes.


Then we carefully removed the tape and we had our own Monet inspired water bridge painting.


Studying and replicating the great Impressionist was a lot of fun. It was nice to feel lie this project had absolutely no rules to it and she was totally free to just paint. 

If you give this project a try be sure and let us know how it goes!

post signature


Tuesday, September 30, 2014

Little Artist: Georges Seurat

This is going to be the third part of our on going "Little Artist" series. As part of our home school curriculum this year we are studying several famous artist and replicating the technique they used and/or one of their famous works of art. So far we have studied Mondrian and Matisse if you would like to check out our previous projects. 

This week will will be studying Georges Seurat and adding a fun, fall twist to our art project.


Seurat was famous for discovering a technique of art called pointillism. Instead of using brush strokes Seurat used a method of circular dots. He believed that by doing this it made the colors more brilliant and powerful.

If you would like to read more about Georges Seurat. Making Art Fun has great artist biographies. You can learn more about Seurat here

Supplies needed for this project:
White Paper
Acrylic paint in fall colors
Q-tips
Paint brush


First you need to paint a tree trunk.


Then allow it to dry completely.


Next up pick a color and start dotting your leaves on. I tried to encourage the girls to not use the q-tips as a brush. We were going for circular like shape to imitate Seurat's work.

If it helps you can draw a circular shape lightly with pencil and try to encourage them to stay in the line... or just let them go!


I love that this project is perfect for a 2 year old a 6 year old or even a 10 year old. 


After we filled in our trees we added a few, dozen falling leaves to complete the painting.


Beautiful!


Now we have some lovely fall art work to display on the wall and can cross "making a fall craft" off of our Fall Bucket List.


Linking up with Desiree, Elizabeth and Stephanie today!


post signature


Thursday, September 18, 2014

Little Artist: Matisse

As part of our art curriculum for school this year we have decided to study one famous artist a week. This is part two in our "Little Artist Series" If you missed part one: Piet Mondrian, make sure you check it out.

Our artist for this week is Henri Matisse and our project was to explore painting with scissors.


Matisse was famous for his painting with scissors technique, it made for an excellent easy art project that is perfect for a kid just learning how to use scissors to an older child who obviously has their scissor skills down. 

Making art fun has some a great resources that offers kid friendly biographies on artists, check out this one on Matisse.

Supplies needed for this project:
White paper
Scissors
Glue
Construction paper. 
(This was a great chance for me to use up some paper scraps)


If you have followed along with me for a while you know that I absolutely love kids crafts that are simple and don't require a lot of steps. It doesn't get much easier than this project guys. 


Simply cut the paper into any shape and glue them to the paper. 

I tried to persuade her to keep going but little Miss was pretty satisfied when she stopped here. 


Thank you Mr. Matisse for showing us that abstract art can be as simple as playing with paper and scissors. 


post signature


Thursday, September 4, 2014

Little Artist: Mondrian

School is back in full swing and that means I should be back to posting fun kids art projects and crafts a few times a month. Art projects are always a favorite in our house and have definitely proved to be the highlight of our school week.

For the first few weeks of this school year I decided to highlight one famous artist a week. We will study their life, their works and what inspired them. Then we will attempt to replicate one of their most famous pieces. 


We started with Piet Mondrian and chose to do our version of his famous Composition In Red, Blue and Yellow

This is a great kid friendly article on Mondrian. Or you can skip the facts for the littlest ones ;). 

Supplies needed for this project:
White paper (I have found investing in a heavier weight artist paper to be worth it.)
Red, blue and yellow paint (we used acrylic.)
Black electrical tape
Scissors
Paint brush


First take the black tape and make some sort of geometrical design with straight lines. Whatever looks good to your eye. I ended up helping Marissa with this step but some older kids may be able to do this alone. 


After your piece is taped you are ready to paint. She randomly chose boxes and colors one at a time. The electrical tape made it easy to wipe off any extra paint that went out of the lines. 


Such focus.


No right or wrong way to choose your colors when she decided to stop this was her finished work!


Thank you Mr. Mondrian for inspiring us to play with Neo-plastacism!


post signature