


To make your own here is what you need!


Next I went to cover the container. However, I discovered the burlap was a bit sheer and I could still see the oatmeal design. So before covering I wrapped the container with brown construction paper.

Now I was ready! I cut the seam as straight as I could and glued it on calling the seam area the back of my project.

The top excess I shoved in the container and the lid fit snugly and securely on.

To finish the bottom I cut slits and glued them down individually as neatly and tightly as I could.

I added a piece of cardboard to the bottom for added stability and glued the pedestal on.

I found it to be a bit wobblier than I wanted so I wend around the base with the hot glue gun a couple of times trying to create more stability and security. It worked perfectly!

I added some more rope around the bottom and a piece of mustard burlap for decoration.
I later realized that doing this was kind of pointless since you can't really see it but hey, I already had it lying around.
My project was complete.

The finished project holds about 14 -15 headbands.
I definitely think I will be making another one of these in the next year or two.
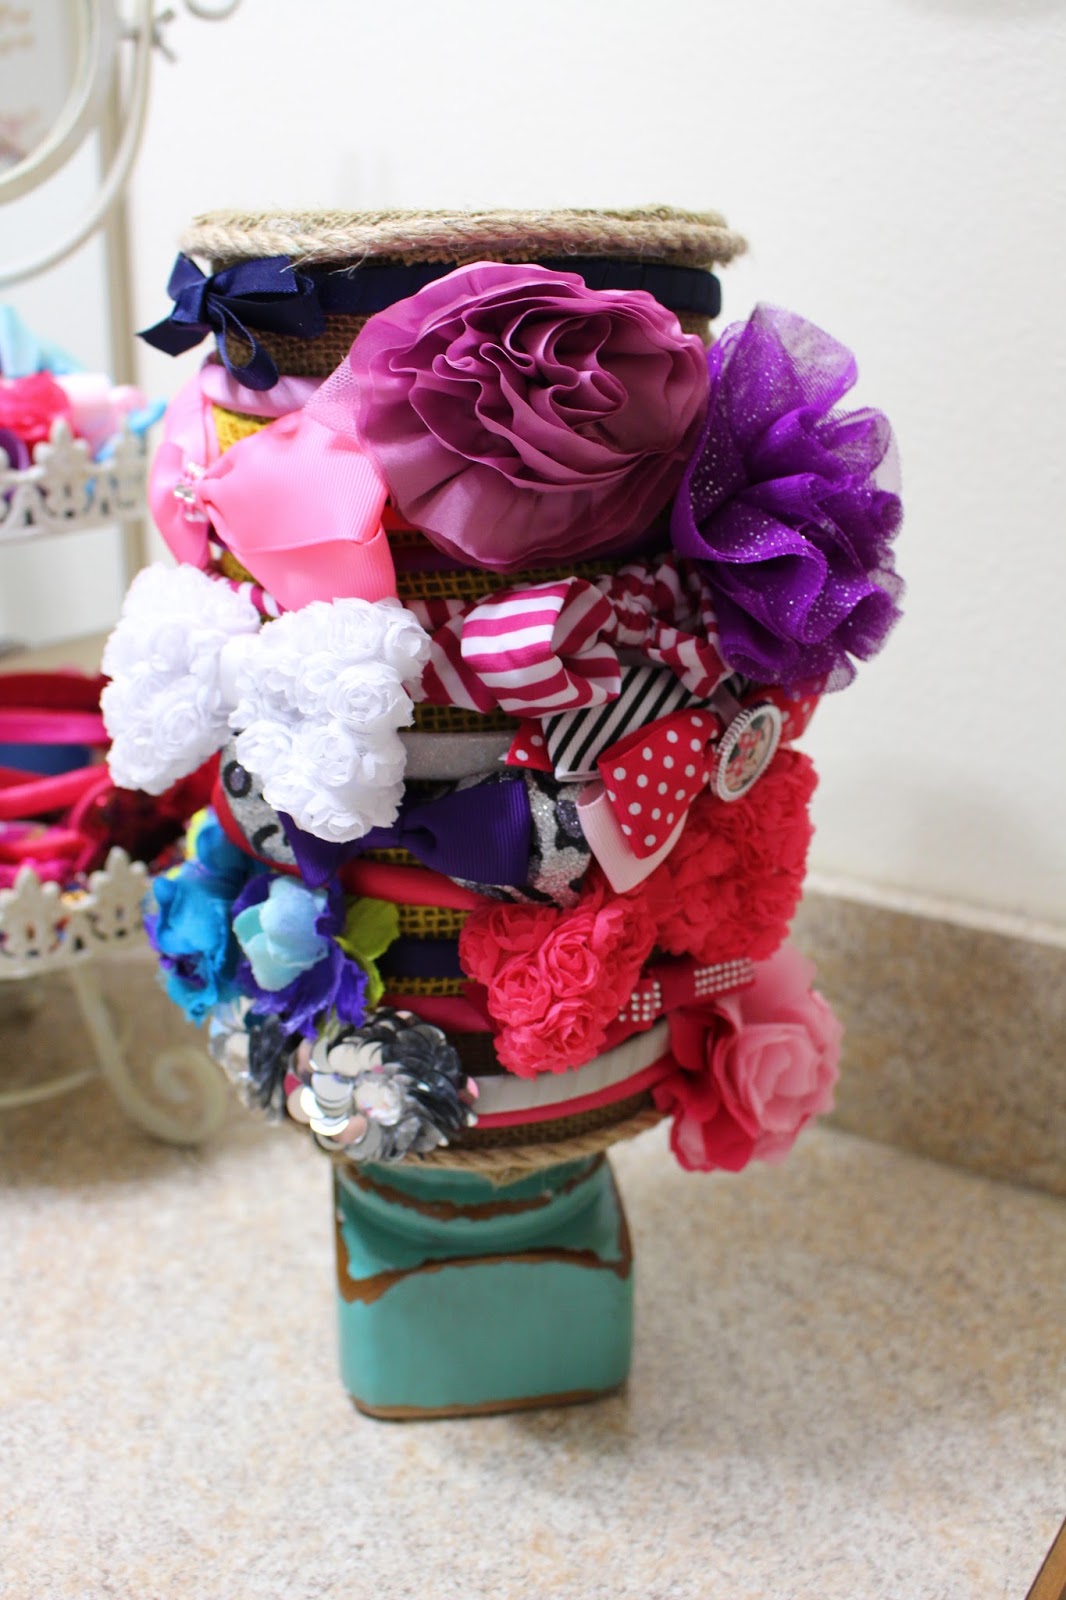
I also love that the headbands are neatly displayed and easy to find.
No more rummaging through the drawers looking for a certain one.

Projects like this make the organizer in me smile and breathe a huge sigh of relief.
Have you organized anything lately?
Now it's your turn to link up for this weeks Tuesday Talk!


No comments:
My favorite part of blogging is getting to know my readers. I love comments and will respond to all of them via email. Please make sure your email is connected to your account.